Documentation Index
Fetch the complete documentation index at: https://portkey-docs-docs-agent-gateway-docs.mintlify.app/llms.txt
Use this file to discover all available pages before exploring further.
Quick Start
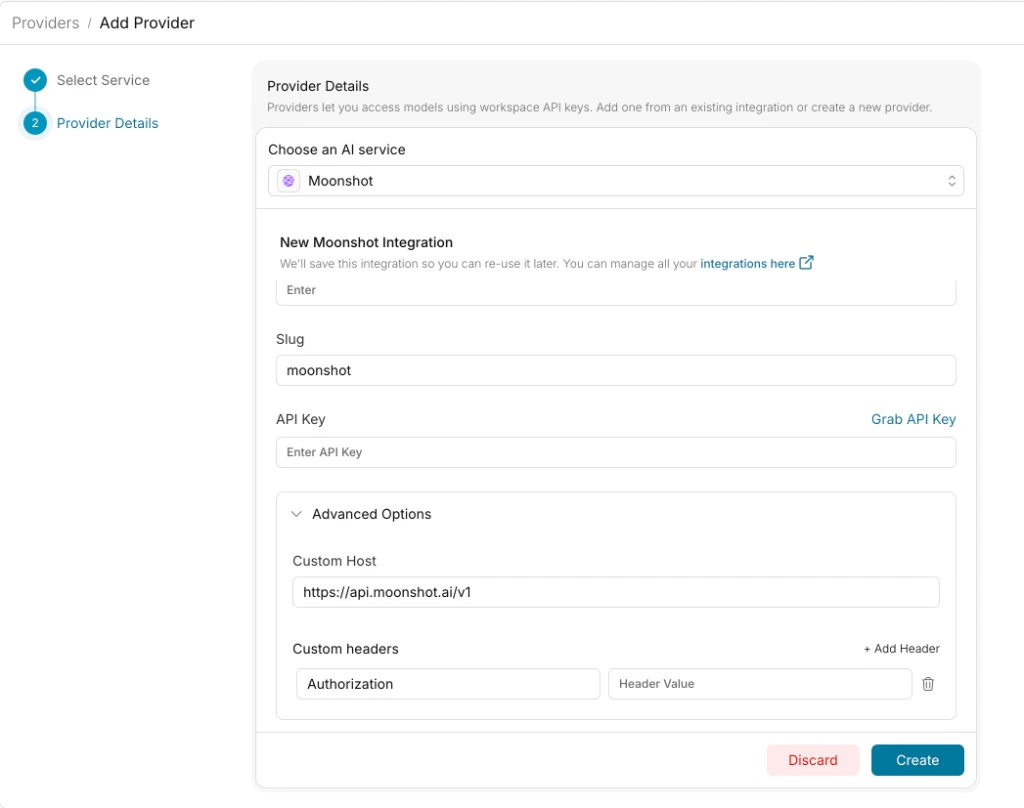
Get started with Moonshot in under 2 minutes:Add Provider in Model Catalog
Before making requests, add Moonshot to your Model Catalog:- Go to Model Catalog → Add Provider
- Select Moonshot
- Enter your Moonshot API key
- Name your provider (e.g.,
moonshot)
Complete Setup Guide
See all setup options and detailed configuration instructions
Supported Models
Moonshot provides Chinese-focused AI models:| Model | Context Length | Description |
|---|---|---|
| moonshot-v1-8k | 8,192 tokens | 8K context window |
| moonshot-v1-32k | 32,768 tokens | 32K context window |
| moonshot-v1-128k | 131,072 tokens | 128K context window |
Next Steps
Gateway Configs
Add fallbacks, load balancing, and more
Observability
Monitor and trace your Moonshot requests
Prompt Library
Manage and version your prompts
Metadata
Add custom metadata to requests
SDK Reference
Complete Portkey SDK documentation